
")
Self Coaching Tips – A great start
Article from NZ Kayak Magazine by Peter Townend
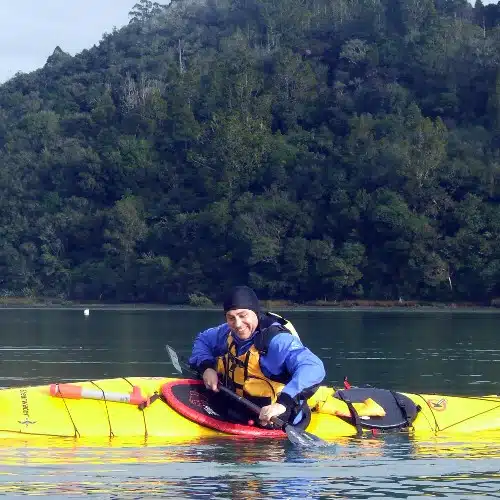
A good low brace can save your bacon in a range of conditions. This is one paddle stroke to practise at every opportunity. The first thing to learn when kayaking is that when things are getting tough and you’re starting to struggle, self coaching is one of the best ways forward.
All of the skills we teach are coached in points; when you are struggling your training kicks in as you start coaching yourself to remember the easier or different ways to fix the issues. For instance: you have been out paddling for the day, the wind has come up and you are now slogging back to the landing with 20 knots on your nose, you’re getting tired and finding it hard work.
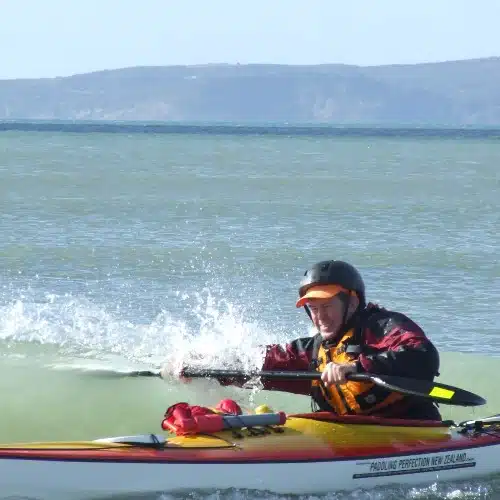
So, run through the paddling coaching points of the power stroke: In at the toes, down the side of the kayak, out at the hips, body rotation providing the power, top hand (or off-hand) at shoulder to chin level, no paddle splash at entry or exit of blade to water.
While you go through these, three things will happen.
1. You will be distracted from the hard work and hence it will become less of an effort.
2. You will be improving the efficiency of your stroke and making it easier to get to your destination, and
3. You will be working different muscle groups when you alter/ improve your technique, enabling you to continue.
Another example: Kayak Surfing. When you’re looking at playing in the surf, what coaching points would you use? You need
1. To fit firmly in your boat so you can control the hull when side surfing and starting to broach. The kayak must be leaned or railed to prevent capsize. Well, kayaking is a water sport.
2. An effective power stroke to punch through and catch waves.
3. A good sweep stroke to turn the kayak between waves and to set your heading when catching waves.
4. A strong low brace for support when broaching and side surfing.
5. A powerful stern rudder to control your heading on the wave face.
Now, each of these has a series of coaching points to be performed at a reasonable level of ability for you to enjoy the surf.
Before you start, go through them and coach yourself through the steps:
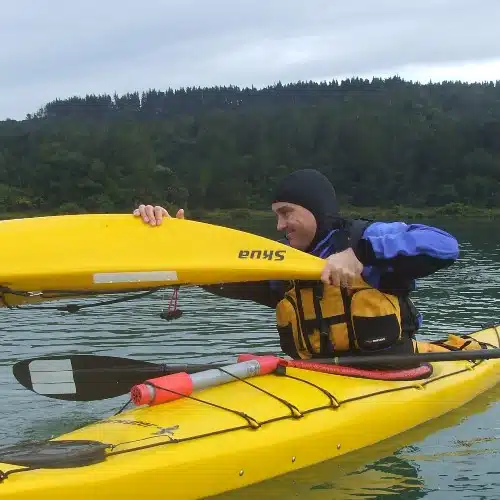
1. Fitting yourself to your kayak. Think of your kayak and body like a running shoe and your foot. If you are running on rough ground the shoe needs to fit snugly with little movement. Your kayak is the same. Paddling a kayak in rough conditions is impossible if your lower body slips around inside the kayak. Glue foam to the side of the seat to stop your bottom sliding from side to side. Glue more foam under the cockpit rim to allow your knees to lock into the rim. Set your foot pegs close enough to allow pressure to be put on your knees to hold the kayak. Now, when you move your lower body, the kayak will respond.
2. Power stroke, as detailed above.
3. Sweep Stroke: vertical blade, in at the toes, move the paddle around in a semi circle, out at the back of the kayak, body rotation, the off-hand down low, the blade just under the water but fully submerged
4. Low Brace: using the back of the blade, elbows on top of the shaft, push down on the water beside the kayak, as you push down use your lower body to right the kayak, and then rotate the paddle blade forward and vertical to recover it from the water.
5. Stern Rudder: when surfing, if I have a rudder, I will use it. However recover/pull up the rudder as soon as you are in shallow water. Failure to do this will damage the rudder. However, when the kayak is running on the wave the rudder will almost always come out of the water behind the wave and this is where the Stern Rudder stroke is needed. The coaching points are: rotate the body, place the paddle in the water vertically at the back of the kayak, keep the off-hand low, push the paddle away from the kayak to turn the kayak in the direction you wish to go, as soon as the kayak has turned swap the paddle to the other side to stop the kayak from turning up the wave face.
While you are surfing, someone ends up capsizing and has a long swim to the shore and their kayak is washed up on the beach. What is the best rescue option?
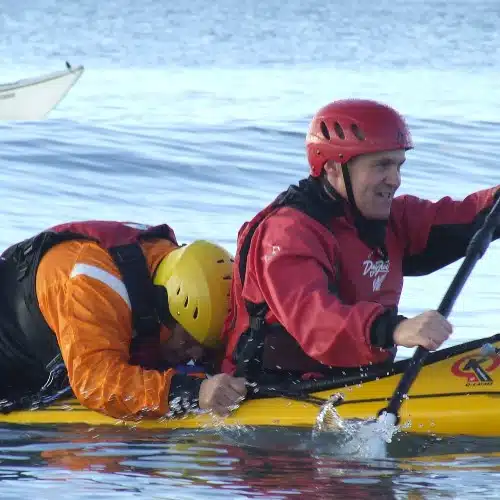
A Stern Deck Rescue: The swimmer climbs onto the rear deck of your kayak and you paddle to the beach. The Stern Deck Carry is your best bet to get a swimmer to the beach or river bank. The coaching points are: Approach the swimmer with caution. Talk to them before you get within reach as, if they panic, YOU are likely to get into trouble. The swimmer does a press up on to the back deck, slides their head into the small of your back and spreads their legs either side of the kayak. During this process the Rescuer needs to be bracing to keep stable. The swimmer’s paddle should be held alongside the cockpit out of the way of your paddle Hold on mate! Use a stern deck rescue to bring a capsized paddler in through surf. Warn your passenger to be ready to hold his/her breath. In this rescue technique the kayak behaves well on the wave face which allows you to control your descent with minimal broaching and side surfing.
A different scenario: While out surfing someone has an unexpected swim. Their kayak is washed out to sea. What do you do? There are a couple of options:
T-rescue: This is where a paddler is put back into their kayak. The rescuer lifts the bow of the overturned kayak to drain the water. With the front of the kayak still high the kayak is flipped onto its hull and floated upright. The rescuer then rafts up (gets alongside the other kayak to support it). The swimmer kicks and does a push up on the rear deck to re-enter the kayak.
A variation on this is the Leg-over Rescue: This has the same start as the T-rescue, but instead a push-up onto the rear deck, the swimmer lies face up in the water legs pointing to the front of the kayak, puts the leg furthest away from the kayak into the cockpit then rolls the body onto the rear deck, face down. Using leg and arms pull onto and into the kayak. Then slips in the other leg and twists into the sitting position.
Another variation is the Swim-in Rescue. The kayak is simply tipped on its side while in the raft. The swimmer slides their legs into the kayak putting their chest or back on the rear deck (depending on what is comfortable for the swimmer). The Rescuer and the swimmer use their combined strength to right the kayak and then pump it out.
When practising any of these skills, do so on flat water first, and then try more challenging conditions as skills develop. Keep in mind this personal safety check “Am I happy swimming in these conditions?” If yes, continue with training, if not, get off the water until the conditions suit your swimming/skill ability.
Remember the best rescue is the one you don’t have to do. Applying this self coaching approach to your kayaking will have a dramatic impact on your safety and enjoyment on the water. But you do need an Instructor to get you started.